How to Read Stucco Cracks on a South Bay House
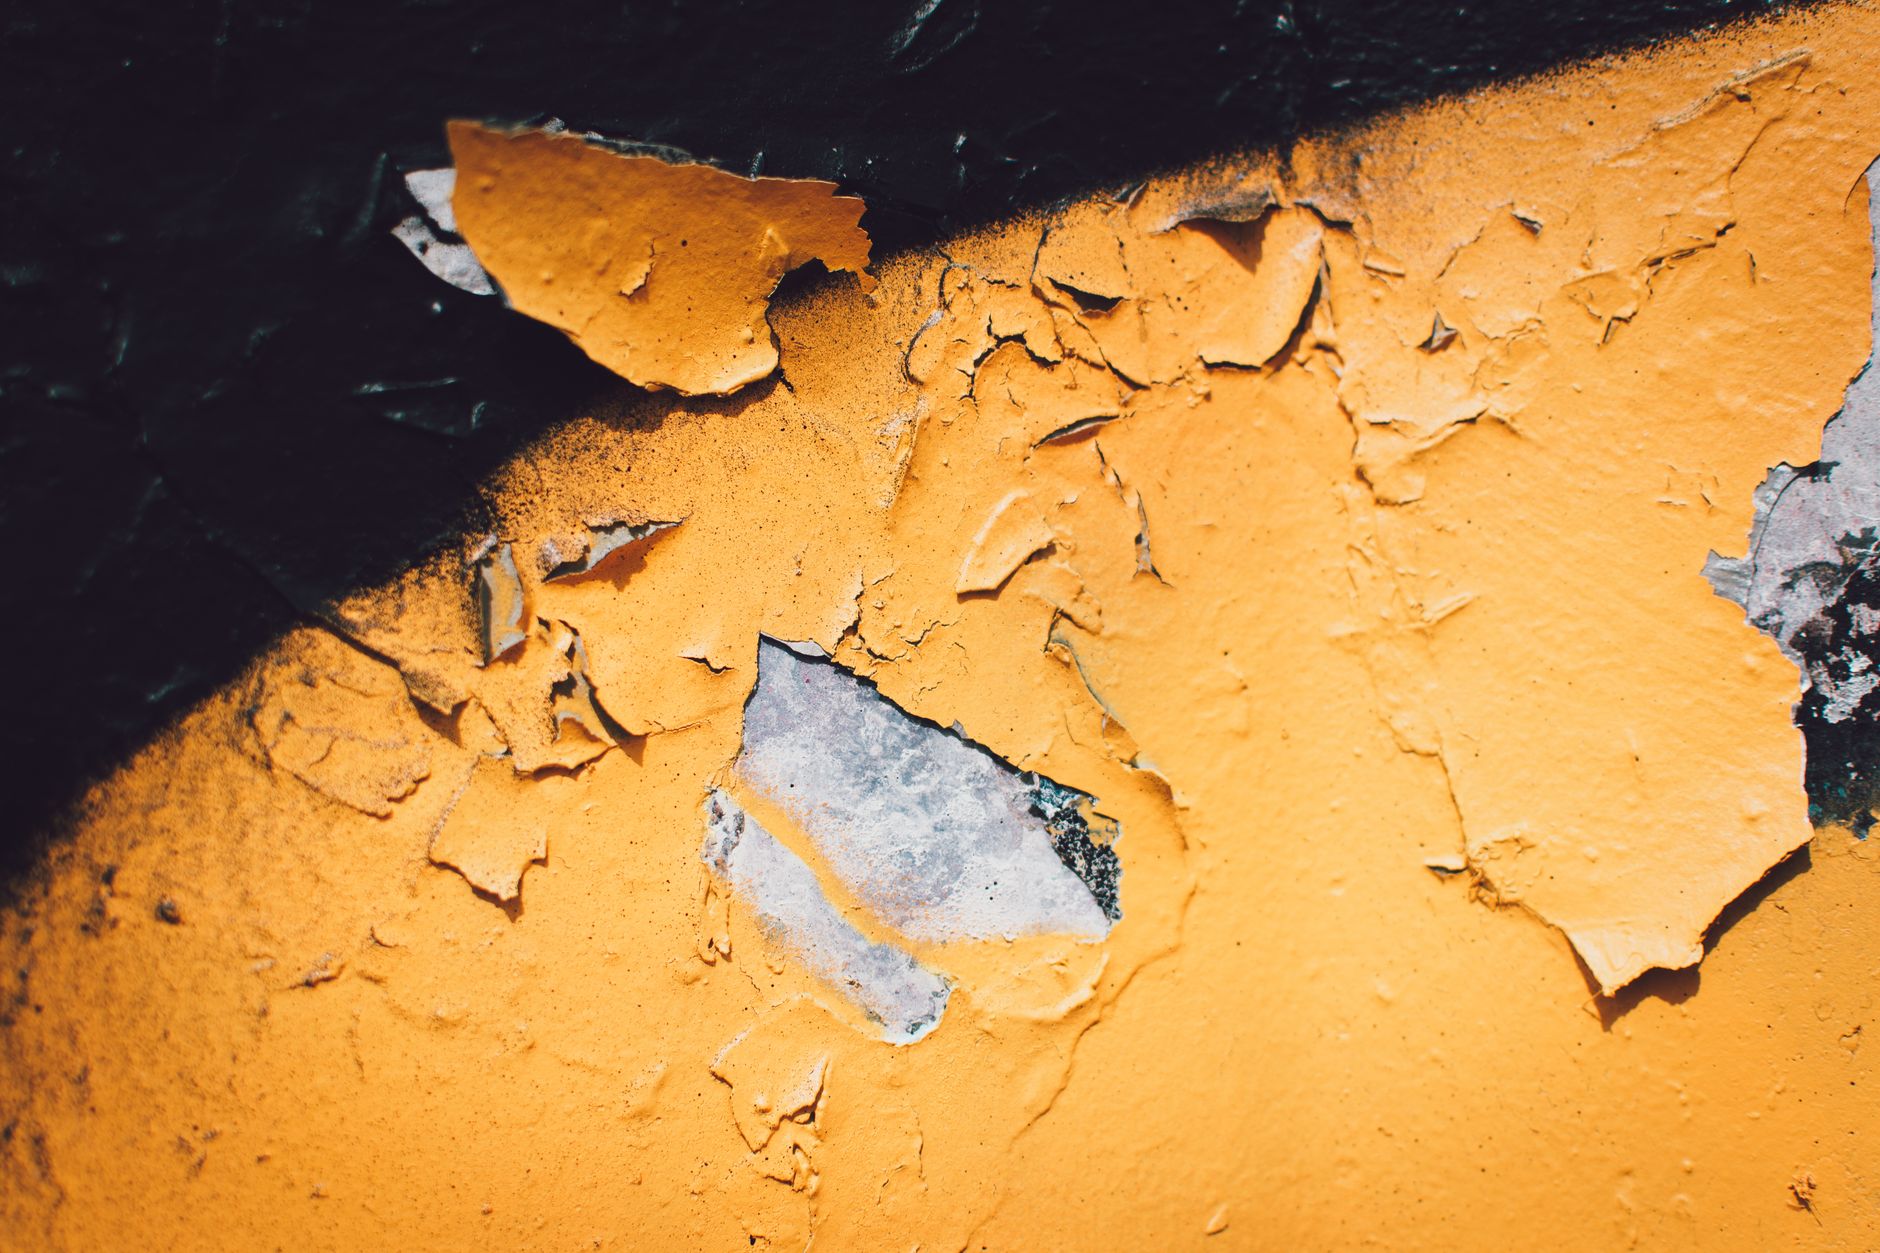
Walk around a stucco house in Torrance on a clear afternoon and the cracks announce themselves. Low sun rakes along the wall, and every hairline, every map-shaped web, every stair-step line near a window corner throws a thin shadow. Most of them are harmless. A few are the visible end of a water problem. The trick, for anyone about to paint, is knowing which is which before the first coat goes on, because paint hides a crack for a season and does nothing about the reason it formed.
Why does stucco crack in the first place?
Stucco is a hard, rigid shell of cement, sand and lime troweled over wire lath and a paper backing. It cures by shrinking, and shrinkage alone puts fine lines into almost every wall within the first years. After that the house keeps moving. Wood framing swells with damp mornings and shrinks in dry offshore wind. The slab settles a little. Trucks on nearby streets and the occasional tremor common to Los Angeles County send small vibrations through the frame. A rigid shell on a frame that never stops moving will crack, and the cracks follow the weak points: corners of windows and doors, the line where a wall meets the roof, and the places where one day's trowel work ended and the next began.
Houses closer to the Pacific Ocean add one more factor. Salt in the air settles on the wall and draws moisture into the surface. Over years, that moisture works into fine cracks, dissolves minerals and carries them back out as white crust. That crust is efflorescence, and where it shows, water has traveled through the stucco.
How can you tell a harmless crack from a serious one?
A simple field method works well. Look at width, direction and pattern, then check whether the crack has moved or leaked. The table below lays out what painters and plasterers usually find on South Bay houses.
| What you see | Likely cause | What it usually needs |
|---|---|---|
| Hairline cracks in a loose web across a wall face | Curing shrinkage and surface drying | Flexible filler or a coating that bridges fine cracks |
| Diagonal line running from a window or door corner | Stress concentrating at the opening | Cut open, fill with flexible sealant, patch texture |
| Horizontal line at a floor level or roof line | Framing movement at a joint | Check for moisture behind it, then seal and patch |
| Crack wide enough to slide a coin into | Settlement, impact or long term movement | Look at the structure before painting; repair first |
| White crust along a crack or near the ground | Water traveling through the wall | Find the water source, then clean and seal |
| Raised bubbles or soft sections | Moisture trapped behind the surface | Open up, dry out, repair the layer underneath |
The coin test is a rough guide, not a rule, but it separates cosmetic work from structural questions better than any other quick check. A crack that is narrower than a credit card edge and does not step one side of the wall out from the other is cosmetic in most cases. A crack that offsets, so one side sits proud of the other, or a crack that keeps widening from season to season, is a conversation for a builder or a structural engineer rather than a painter.
What does a painter do about hairline cracks?
For fine cracks the standard answer is not to dig into them at all. A high build acrylic or an elastomeric coating is rolled or sprayed and back rolled over the wall, and the film itself bridges the line. The coating is thick enough, and flexible enough, that it moves a little with the wall instead of splitting on top of the crack. The preparation matters more than the product. The wall is washed, dried for several days, and any chalky surface is locked down with a masonry primer before the first coat.
Where a crack is slightly wider, perhaps the thickness of a nickel, the crew opens it with a utility knife or a small grinder blade into a shallow V shape, blows out the dust, and fills it with a paintable flexible sealant. A V shaped groove holds more filler and flexes better than a flat line. After the sealant skins over, the surface is textured with a brush or a sponge to match the surrounding finish, because a smooth strip on a sand textured wall shows through every coat of paint like a scar.
When is a patch a repair and when is it cosmetic?
A cosmetic patch fills a gap and matches the finish. A real repair removes whatever failed and rebuilds the layer. The difference shows up in how long it lasts. A cosmetic patch over a wall that is still taking in water will reappear within a season or two, usually in the same place and often with a stain around it. A real repair starts by finding the water.
The usual suspects are not dramatic. A sprinkler head that throws water against the wall every morning. A downspout that discharges at the foot of the stucco instead of away from it. A window sill without a proper slope, so water runs back toward the frame. A planter bed that is higher than the weep screed, the metal strip at the bottom of the wall that lets moisture out. Fixing any of these stops the damage at its source, and none of the fixes involve paint.
Older houses scattered across the South Bay, from the neighborhoods near Madrona Marsh to the streets around El Camino College, often carry layers of past repairs. Each of those is a place where the new coating may look different from the surrounding wall.
Does the coating choice change how cracks behave?
Yes. Ordinary acrylic latex paint forms a thin film that moves very little. It looks good, breathes reasonably well and suits stucco in good condition, but it will not hide or bridge a crack, and any filler beneath it needs to be dead flat and fully cured. Elastomeric coating forms a much thicker film, and its stretch lets it cover fine cracks as a single membrane. The tradeoff is breathability. A thick elastomeric skin keeps rain out, and it also keeps trapped moisture in, so it belongs on walls that are dry and sound.
A third option is a masonry smooth coat or a fill coat, a heavy, sandy paint that fills texture and hairlines before a finish coat goes on. It takes more labor, it levels the wall visually, and it gives a quieter, more even look on older stucco that has been patched many times.
How does the weather change the work?
Stucco work in the South Bay is a conversation with the marine layer. Cool, damp mornings slow the cure of patching compounds and sealants. Dry offshore wind days speed everything up and can pull moisture out of a patch before it has set, leaving it weak. Direct sun on a west wall in the afternoon can bake a coating before the roller has leveled it. Experienced crews plan the sequence around the sun: patch in the morning on the walls that will be shaded, coat the sunny walls once the dew is gone, and finish each wall before the afternoon heat reaches it.
Rain matters less often than people expect, but when it does arrive, it arrives in a block of days. A freshly patched wall that gets soaked before it has cured needs to be checked afterward, since water can wash out uncured sealant or leave cloudy streaks in a fresh coat.
What should be checked after the paint dries?
A finished job gets one more walk around, in the same low afternoon sun that showed the cracks at the start. Patches should be invisible from a few feet away, with the texture matching and no halo or shadow around the repair. Caulk lines at windows and trim should be smooth and fully covered. Wall bases should show no white crust and no damp edge. A second look a month later catches anything that moved as the coating cured, such as hairlines that return after a coat, a sign that water is still getting in.
Stucco rewards patience and punishes shortcuts, so the cracks worth worrying about are the ones that move or leak, and the ones worth ignoring are the fine lines a good coating will bridge.